
Since starting this page 5 months ago, I have made some lovely new friends who I will continue to chat with. laugh with and share recipes with long after this page is gone. Linda is one of them.
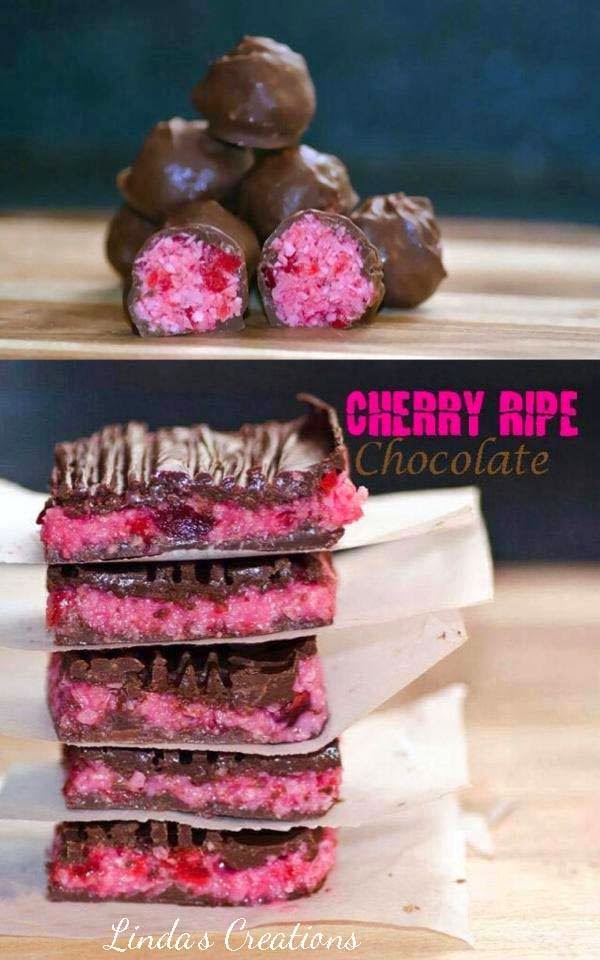
Linda has shared this recipe with me so I can share it with you all. How amazing do these look!!! I hear they taste even better!!!
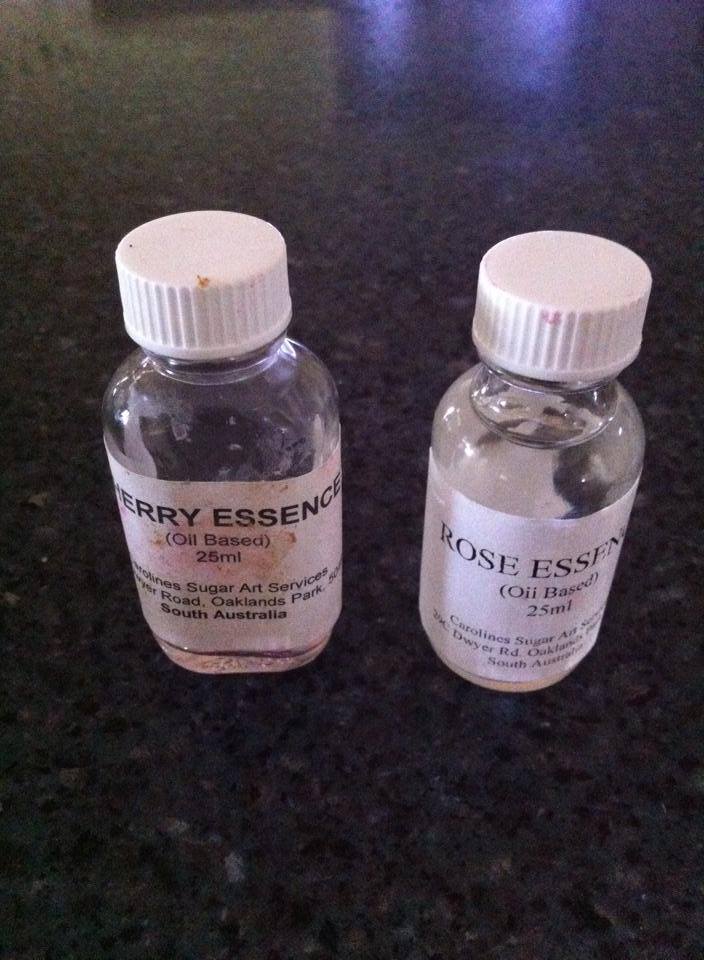
These are the oils Linda uses for the recipe:
Print
Linda’s Cherry Ripe Chocolates
- Total Time: 30 minutes
Description
I want to also take this opportunity to thank Peta from THE ROAD TO LOVING MY THERMO MIXER for allowing me to share my recipe with you on her page!
Ingredients
Scale
- 225 grams Moist coconut flakes
- 150 grams Condesnsed milk
- 200 grams Glacied Red Cherries – look for the bright red ones
- 1/4 tsp Cherry essence – preferably one with an oil base
- 1/4 tsp Rose essence – preferably one with an oil base~ this bumps up the flavour
- 1/4 tsp Pink food colouring
- 250 grams Cadburys dark chocolate melts
- 250 grams Cadburys milk chocolate melts
Instructions
- Line a 30x20cm baking tray, or one of a similar size with some baking paper.
- BOTTOM CHOCOLATE LAYER
- Place all the chocolate in TM bowl and grate 10 seconds on speed 8. Set aside 300 grams of chocolate for the top layer.
- Melt the other 200grams of chocolate at 60 degs speed 2 for 2 mins. (You may have some chocolate left on the blades,just stir it back in with a spatula. Pour chocolate into prepared tray and evenly spread out. ( A flat cake knife is great for this.) Set in fridge for 10 -15 mins Clean bowl!
- CHERRY RIPE FILLING
- Place moist coconut flakes in TM bowl and blitz on speed 8 for 3 seconds. Add in condensed milk, glacied cherries, andflavourings, along with the red food colouring. Mix on speed 4 for 10 seconds. Yuuuummmooooo! Now spread thisgorgeousnes, evenly over the prepared chocolate layer. It will be a little sticky at this stage, but it still should spread nicely for you. Make sure to spread into the corners as well.Place in the fridge while preparing the second layer ofchocolate. Clean TM bowl.
- TOP CHOCOLATE LAYER
- Melt rest of the chocolate that was set aside at 60 degs speed 2 for 2 mins. Spread over Cherry Ripe filling evenly with a flat cake knife, making sure to go right to the corners of your tin. Refrigerate again. Set timer for 8 mins. After 8 minutes is up, using a fork, draw horizontal lines down the slice to give a line effect just like the real Cherry Ripe slice.Refrigerate again till set. Cut into bite size pieces. I like to cut them into nice bite size pieces.
- NOW ENJOY!!!!!!!!!
Notes
- I highly recommend using the ESSENCES THAT HAVE AN OIL BASE stated in this recipe. You can find these essences with an oil base in any cake decorating shops or websites on line. ( I used the brand named Carolines) The extracts in the supermarkets don’t seem to deliver the sameresult as they still seem too bland for that real similar cherry ripe taste. You can choose any chocolate of your choice. To even make it quicker, you can melt the chocolate layers in the microwave as you go. This is what I usually do.
- Prep Time: 30


This comment has been removed by the author.
I’ll ask Linda to reply 🙂