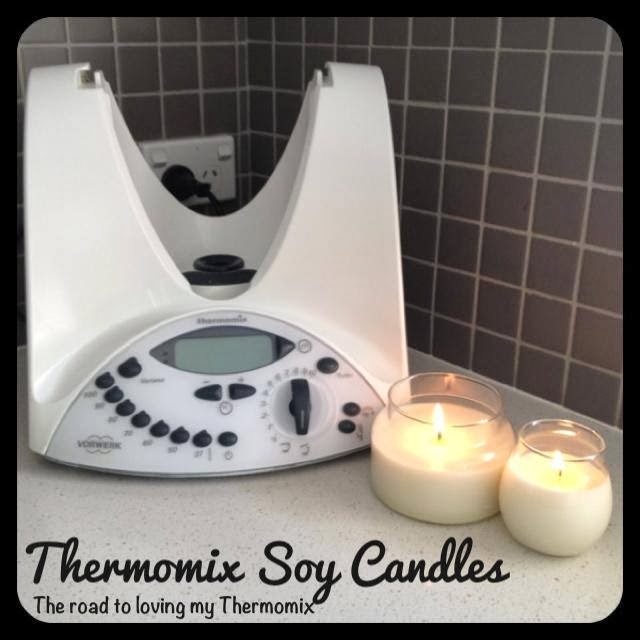
Before I get started on this tutorial its important to mention a few things re: candle making.
There is quite a lot of science involved in candle making. Lots of man hours go into perfecting candles. I have kept this fairly basic and just the essentials for those who would like to try this. Of course if you were selling candles and going into business there is a lot more you would need to know before you even consider selling or mass producing. Before experimenting too much I urge you to attend a candle making course or researching in length. Candle makers spend many many hours researching, testing different blends and wicks, networking etc. This information is enough to get you started and having fun with making candles at home as a hobby.
If you don’t have a Thermomix you can still do this with the help of a microwave, glass jug and thermometer. If doing this remember to wear oven mitts when dealing with the glass jug. It doesn’t take much to get really hot. You can also buy wax melters designed specifically for making candles.
Please feel free to share or experiment with this tutorial. I do ask that if you do make candles and post about your brilliant creations, that you link back to this tutorial if people are wanting instructions etc. I have created this with years of candle making experience. It is extremely important the correct information is given to people who want to experiment. So in saying that, don’t hesitate to research further and not go off what I say. Extra research doesnt hurt at all.
Getting started:
To get started you are going to need supplies. You will need heat proof holders, soy wax, fragrances and wicks with sticky dots (see below) at a bare minimum. I buy my supplies online. Starter kits are very well priced and set you up with everything you need for your first round of candles and will also come with instructions of their own. Be sure to read these thoroughly before commencing.
I also suggest the kits because they will show you which heat proof holders are suitable and exactly what you need for successful and safe candle making. Once you get a better understanding of it you can then order your own supplies individually.
Preparing your holders:
 Ensure your holder is clean and dust free. Its extremely important to ensure you are using heat proof holders to prevent shattering. If you are concerned, you can place your holders in a cold oven and turn it up to 90 degrees. This will warm the jars up slowly and will be at temperature to pour your wax in to. I suggest doing it to prevent disappointment in case it does happen to shatter and especially if giving the candles as a gift to ensure they are safe.
Each holder will need a wick in it. When buying kits they will send you little double sided sticky dots that will stick the wick to the base of the holder. You can purchase these separately as well. These are essential for beginners to ensure they are placed securely. You will also need a wick holder that will keep the wick in place whilst the candle is setting so you can maintain the wick in the middle of the holder for even burning. If you buy a kit you will get sent some however other people use pegs, bag clips, pens, paddle pop sticks. Use whatever works for you however for beginners I suggest the holders to ensure proper placement of wicks.
How much wax to use?:
The general rule is if your holder holds a cup of water, you will need two cups of soy wax flakes. This is the part where you will need to experiment a bit.
Heating the wax:
Place the desired amount of wax into the tmx bowl. I always use wax flakes. You will need to heat the wax to 70 degrees. I set the Thermomix to 70 degrees, speed 3 for approximately 5 minutes. You want it completely melted. Remember to stop and scrape down the bowl regularly so every flake is melted. Once completely melted it should almost resemble oil. If you have any ‘floaty’ bits continue to melt. If they don’t dissolve turn your temp up to 80 degrees.
Adding colour:
You can add colour to your wax if desired. I really prefer the look of the white wax so haven’t experimented with colour all that much. To colour the wax you will need colour wax blocks or dye. The blocks work much better as you have more control over the colour. These come in a starter kit generally or you can purchase separately. You add the colour by placing some shavings of the colour block into the completely melted wax before you add the fragrance. To test the colour, put a little of the coloured melted wax on a piece of white paper. Let dry and that will give you an indication. Add more if needed.
Adding fragrance:
The general rule of thumb is that you will need 5-10% fragrance for your wax. So for example, if you have used 100g of wax you will need between 5-10g of fragrance. This will take some experimenting with to get the right scent. Some scents are very strong and require only 5%, some are softer and require the full 10%. You can just imagine the amount of testing good candle makers do to get the perfect candle.
We all know how temperamental our scales can be so please use a set of good digital scales to measure in your fragrance. Adding too much fragrance is actually a bad thing so be accurate with your measurements.
Your wax needs to be at about 70 degrees to add your fragrance. Pour your wax in to a heat proof jug and then add your fragrance to it and mix. Add the fragrance right before you are ready to pour. Adding it in too early can cause it to alter in properties and the scent can change (and can sometimes turn awful!).
Pouring the wax:
Your wax needs to be between 50 to 60 degrees to pour. Pour the wax into the holder slowly. As I said above, its extremely important to ensure you are using heat proof holders to prevent shattering. If you are concerned you can place your holders in a cold oven and turn up to 90 degrees. This will warm the jars up slowly and will be at temperature to pour your wax in to. Even experienced candle makers still heat test their glassware and holders to ensure they are safe to use. The last thing you want it your holder cracking.
What now?:
Now you leave your candle to sit for 8-12 hours or so. Once set be sure to move your candle somewhere away from cold air or drafts as this can cause your candle to “frost” which doesn’t look as good. Trim the wick at this stage. The general rule is to wait 24-48 hours before burning the candle to ensure everything has settled.
Clean up:
Now before you all panic that you cant clean your bowl and your Tmx will be ruined I want to reassure you that your bowl will wash up fine. However, this is a $2000 machine. Do not do anything in it you are not comfortable with.
Soy wax has a melting point of 40-50 degrees. Washing your bowl up in a nice big sink or bucket full of hot soapy water from your tap will melt the wax and your bowl can be washed up as normal. I recommend washing it by hand then popping it in the dishwasher if you feel the need. I would avoid putting it in the dishwasher without hand washing to avoid the dishwasher having wax go through it.
As long as you have hot water your Thermomix will wash fine and you can go on to make your favourite cocktails without wax floating around.
Have fun experimenting!
*Disclaimer:
As many of you know I experiment with my machine quite a bit. Aside from food I do soy candles, body products, children’s craft supplies, household cleaners etc in it.


I can’t wait to try this! I have been wanting to make candles with my TM for ages. Do you have any suggestion on what site to get the starter kits from?
Going to make today!name soy candles b4 but not in my termi!looks easy
Just one question. Do I wait til.heat lights grt down to 50 def b4 adding scent then pour straight away?